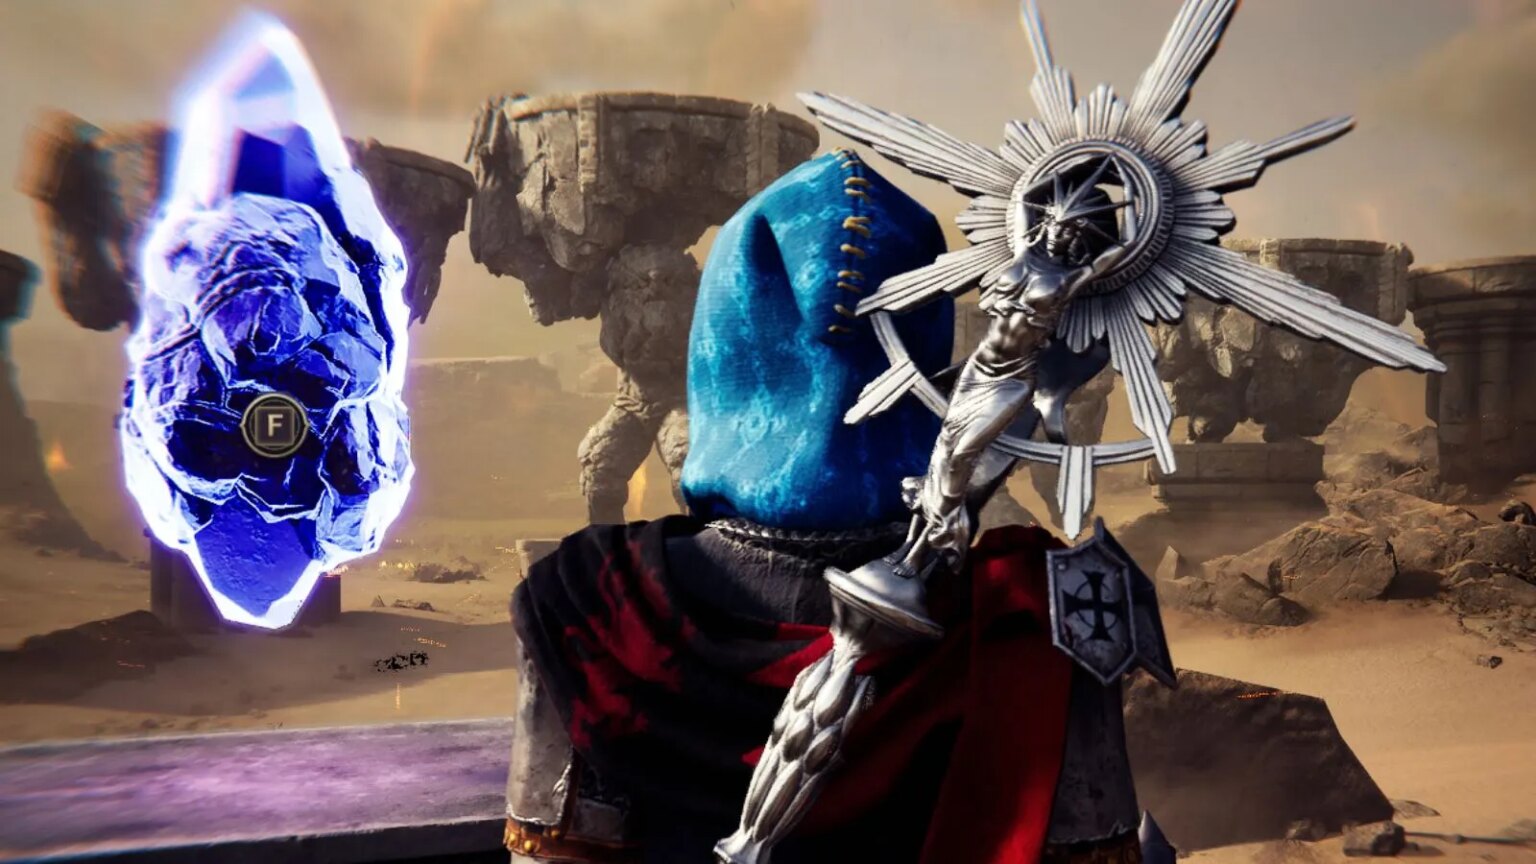
Kicking off in the Manawastes, Demon’s Test is a tricky Throne and Liberty quest that features a variety of different puzzles and challenges.
To help you get your hands on the lucrative rewards, here’s a complete guide to finding the Demon’s Test and completing it—including the solutions to each puzzle and what you need to get started.
How to start Demon’s Test in Throne and Liberty
The Demon’s Test questline takes place in the Manawastes zone, meaning you need to be at least level 43 in order to access it. It’s not part of the main campaign, so the introduction will pop up as an exploration quest when you unlock the waypoint for the area.
There isn’t any combat in the quest itself, but being level 44 or 45 can help as there are lots of aggressive mobs with paralysis-inflicting moves in the area.
To start Demon’s Test, look for an interactive pillar with a glowing blue sigil floating above it called Junobote’s Experiment Log. It’s close to the Manawastes waypoint, and the quest marker will guide you to the location shown below.
Junobote’s Experiment Log is up high in a crumbling alcove, so you need to use the nearby rocks and ledges to climb up to it.
When you interact with the luminous symbol, you will automatically teleport to the first step of the Demon’s Test puzzle encounter, so make sure you’re ready to leave the Manawastes before you hit F and activate it.
As soon as the teleport sequence finishes, you will start Demon’s Test automatically. It’s a multi-stage puzzle quest following the path of a knowledge-driven demon named Junobote, and it’s incredibly lucrative, especially if you’re trying to hit max level quickly.
How to finish Demon’s Test in Throne and Liberty
There are three puzzles to solve in Throne and Liberty‘s Demon’s Test, and the first one you encounter is a shadow model puzzle. If you’re a fan of the Resident Evil franchise, you should feel right at home when solving this particular puzzle.
How to make the unicorn shadow
The aim here is to rotate the various models on the podiums to create the shadow of a unicorn on the stone slab. You can spin the models around by interacting using F when facing the podiums.
There’s a horse, an eagle, and a sword, the last of which is quite high up in the air. The horse—unsurprisingly—makes up the body of the unicorn, while the eagle makes up its wings and the sword acts as its horn.
As soon as you slot these three statues into place, the first puzzle will be marked as solved and you can teleport to the second one.
What order to hit the musical crystals in
The second puzzle is much more musical in nature, with a statue and a rainbow of crystals on display. You need to interact with the statue to hear a song, and then replicate the song by interacting with the rainbow crystals in order.
While this is an audio-based puzzle on the surface, don’t worry too much if you need to take a visual approach. The crystals emit a glowing symbol when you hit them, and you can find the answer to the puzzle in symbol format near the statue. You can use the guide on the Fallen Paper note near the statue to see which order to hit the crystals in, or simply use a number/color system instead.
The correct order to hit the crystals in is:
- Orange (Two)
- Blue (Five)
- Indigo (Six)
- Green (Four)
- Yellow (Three)
- Red (One)
- Yellow (Three)
- Orange (Two)
When you hit the final crystal in the sequence, the puzzle will be marked as complete and you can teleport to the third and final puzzle of the Demon’s Test.
What order to hit the giants’ crystals in
This puzzle will feel somewhat familiar, as it also requires whacking glowing crystals in the correct order. There are five of them, corresponding to five giants in the background holding up sections of a crumbling pathway between two huge stone pillars.
The aim here is to hit the crystals in the correct sequence to get the giants to stand up or down accordingly, making the path even and easy to walk on. The giants are not directly tied to the crystal in front of them, so hitting the first crystal won’t necessarily make the first giant stand up.
From left to right, the correct order to hit the crystals in is:
- Two
- Four
- Three
- Three
- Five
- Five
When you input this sequence, the giants should all finish standing up or crouching, creating a smooth path in-between the platforms. You can then teleport to the final stage of the quest.
The final teleport sequence will take you up to one of the pillars. Here, you can run straight across the platforms on top of the giants to get to the pillar on the other side. They do move slightly as you run over them, but not enough to make falling off a real possibility.
At the end of the platform chain, the quest will wrap up and you can get your final rewards. One of the best things about the Demon’s Test quest is the new title, Powerful Brain.
Alongside the title, you get a big chunk of experience and Sollant, and you can interact with Karmarshea’s Guardian Pledge nearby, too, giving you access to the Lady Knight Karmarshea Guardian which comes in handy in a number of end-game battles.
Read the full article here


